Saturday, January 31, 2015

Poe's adventures

I bought Poe, SBL Pow Wow Poncho, from eBay maybe a little over a year ago.  The seller lived about 2.5 hours from me which I found interesting.  I only know of one other Blythe collector in my state.

She arrived without her stock eye shadow and that typical SBL downward gaze.  If I remember right, she had a slight melt mark from her pull chord which I buffed out.

I started following a fellow Blythe collector on Instagram named Coffeedove.  I was drawn in by her images of reptiles, and other animals, and her illustrations.  About a week ago Coffeedove posted an offer of free custom work.  I though why not!

I never could decide what to do with poor Poe.  She is the most neglected doll in my collection.  In preparation for her travels I opened up Poe.  I've had some experience opening SBLs, including the hack saw method.

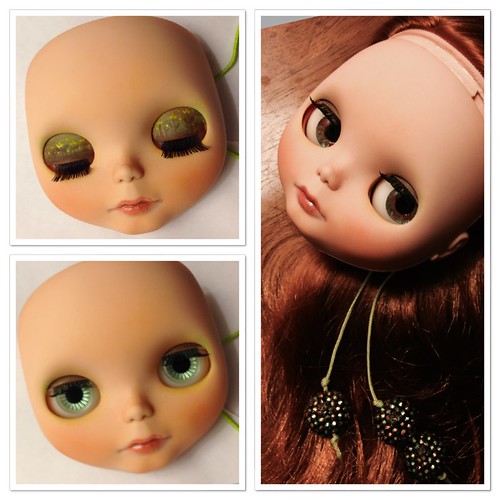
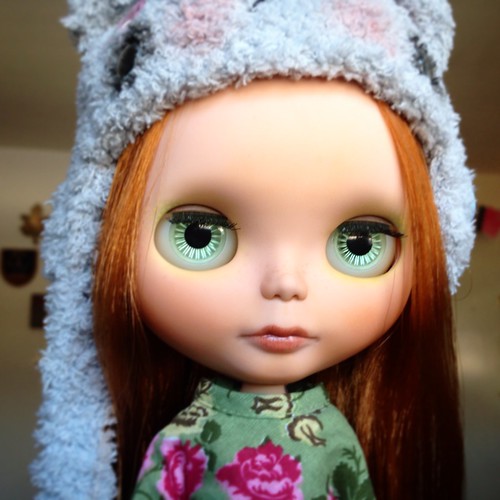
Now, she looks amazing!  The following are Coffeedove's images:

First image and lid painting

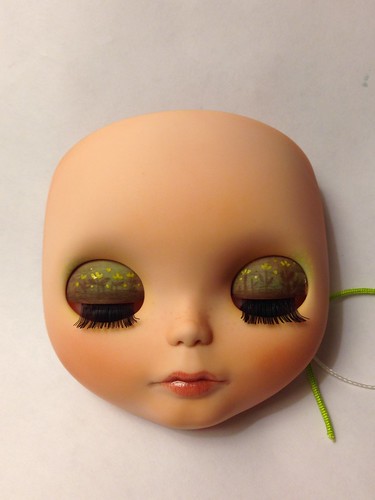
Lids, Very Vicky chips (in prior to travels), pull chords

hand painted chips

Very Vicky chips with faceup

I should be seeing her on Monday!  


Thursday, January 29, 2015

Toysfield Usagi

Being naughty is apparently my middle name.  How can I be good when I find such good deals on eBay by accident!

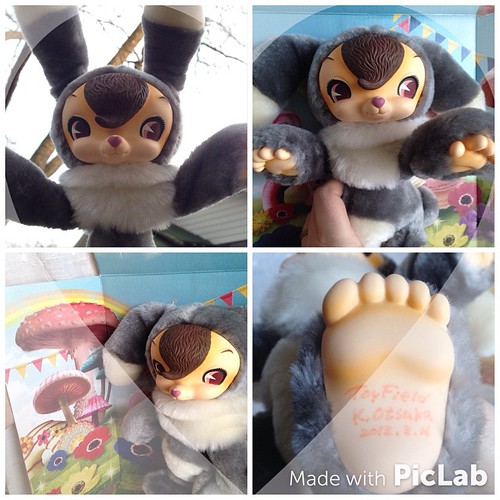
The latest "accident" is a Toysfield Usagi*!  This bit of fur and plastic is absolutely the most adorable toy.  I actually ran across how the Toysfields are made and it made me realize that they are basically BJDs (ball jointed dolls) rather than a stuffed toys.  Once I realized this, I caved and bought one.


There is a plastic skeletal/armature inside that allows full articulation in the limbs, ears, and neck.  I am impressed by the quality.

I am unsure why, but my Usagi is signed.  I feel it is a signature rather than a stamp or painted since I can see where the pen started and stopped by the artist.  I trolled Flickr and Instagram prior to my Little Grey (temp name) arriving; I did not find all that many grey rabbits.  The eBay seller was under the impression that the grey color is somewhat rare.  I guess he could be right.  

Gratefully, my Little Grey had booklets called Toysfield Artbook and Toysfield Artbook 2.  Inside was a story about Cherry Pudding (pink), Marshmallow Gray (grey*), and Meringue White (white) and release information in English.  Artbook 2 had Kuma (bear) paper dolls and sewing patterns.  I will trying them soon!

Story and release information

I could not find deboxing photos.  Here is a collage I made of my deboxing photos:  

Full sized images are also on my Flickr.


It is safe to say that I am in love.  There will be more photos on my Instagram and Flickr accounts.  I don't have the IG badge yet, but if interested in following me my user names is @blytheknits.  I am hoping to have a Kuma soon.

*Usagi is Japanese for rabbit.

*I prefer grey with an 'e', but the official release name was with an 'a'.

Tuesday, January 13, 2015

Reading Deluxe Kitchen Set

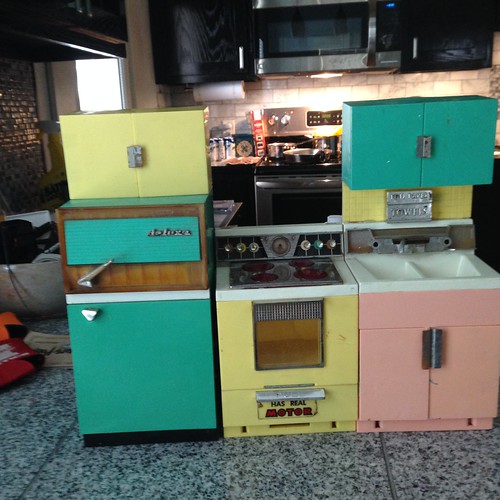
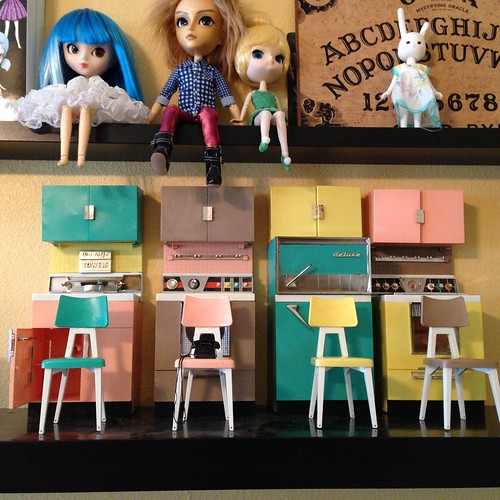
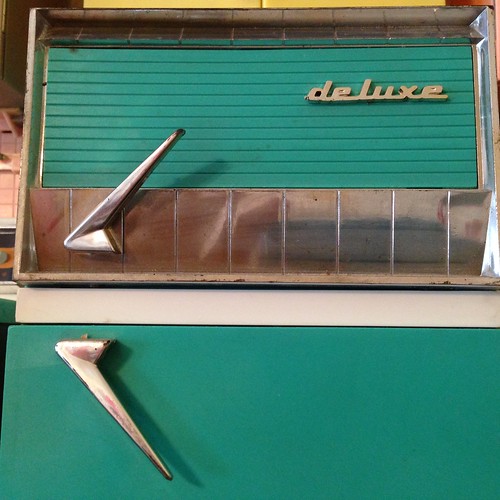
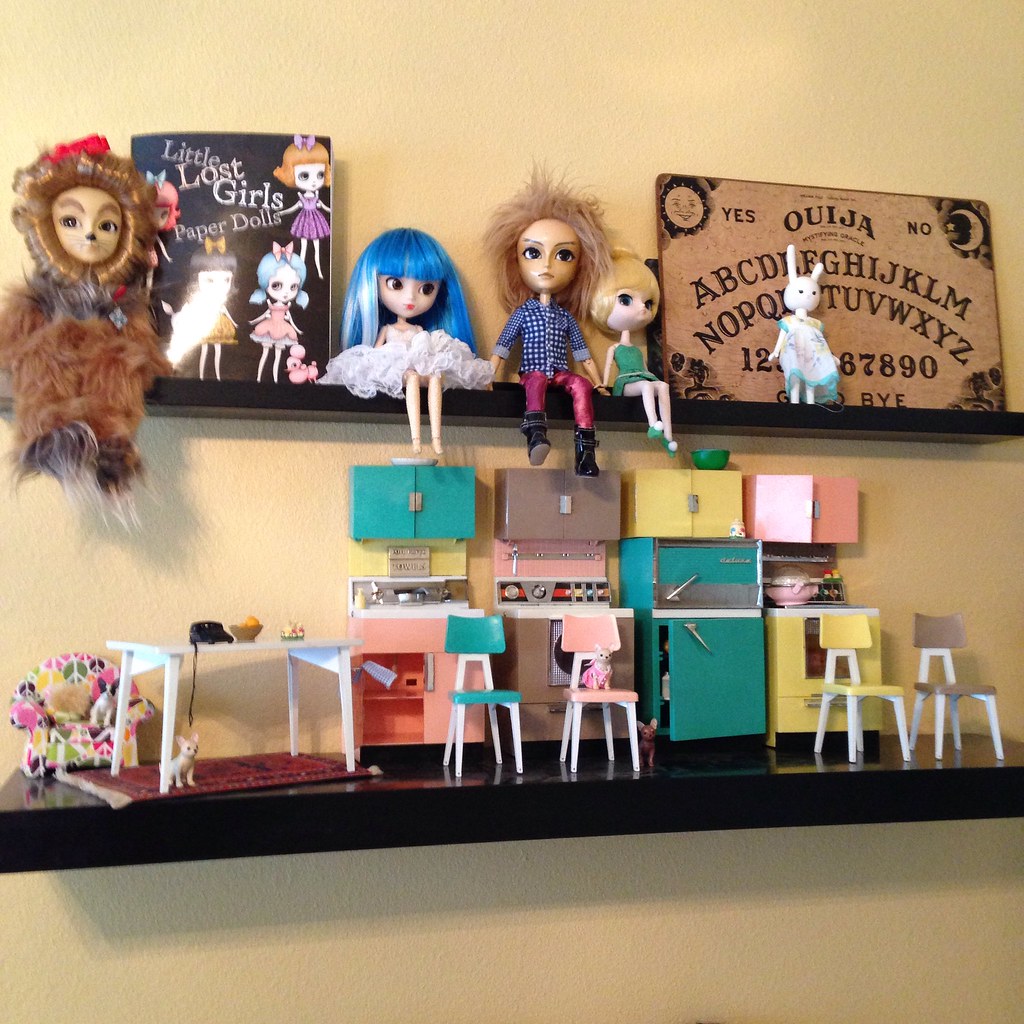
One of my goals for this year is to have some sort of doll house, room box, display, etc.  I kind of put the cart before the horse and bought the Reading Corp's Deluxe Kitchen set.  Well to be exact, I bought 2 partial sets.
first set

The first one is pretty used condition with the sink, refrigerator, and stove (no top cabinet).  Then, I purchased a near complete set within days of the first.

second set, table not pictured here

I cleaned the first set up and repainted the silver.  I'm giving this the pieces to my daughter.  Second set, all I had to do is clean it up.  I do believe the attic it came out of was from a coal heated home at one point.  My fingers looked like I was setting up a charcoal grill afterwards.  The suet did not stain the pieces.

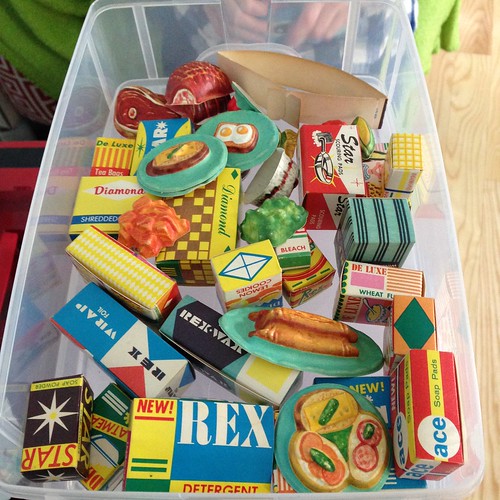
It is unbelievable that the little paper boxes have survived since the 1960s!  In R's Playmobil sets, they were the first to be crushed.


A few bonus pieces, but mostly the set.  All dishes, pots, and pans included.  The two blue upside down looking cups below the red plates are actually salt and pepper shakers.

both handles are there

The silverware and utensil set is complete.  The clear box is a refrigerator bin.


I noticed some variations between the 2 sets.  There are screws in places on my better set that weren't ever there on the first (no holes).  I don't know what this means or if this is a way to date the production times.

One of the chairs have already suffered a causality.  As I was cleaning it the leg snapped off.  At closer inspection, it was an old repair with glue that resembled Elmer's or other craft glue.  I reattached it was E6000.  I had it on my real cabinet drying and R's hat strap caught knocked it off. Bah. The top snapped off then!  I glued that back on with E6000.  The leg stayed on, so that was a plus.  I won't be using the chair for more than sitting my Blythe chihuahuas in them.  The legs will won't hold any weight.

a bonus phone on the repaired chair

On top shelf is the last of my Pullip family and my Petworks Ussagie Bunny.

A few boxes are missing, but mostly the food pieces were not included.  I used a nice list I found on someone's blog to determine what I was missing.  Each section was consider to be up to 5 pieces.  For example, the stove was counted as 5 and it included: stove, battery cover, rotisserie turkey with rod,  and pot holder/rack.

I'm now on the hunt for rement and other miniatures.  This set matches the Ikea living room set decently.  My Sindy washer and dryer are actually blue (which match 1970s Barbie stuff well).  I haven enough items now to actually fill up a doll house.

Wednesday, January 7, 2015

Ewok Sweaters

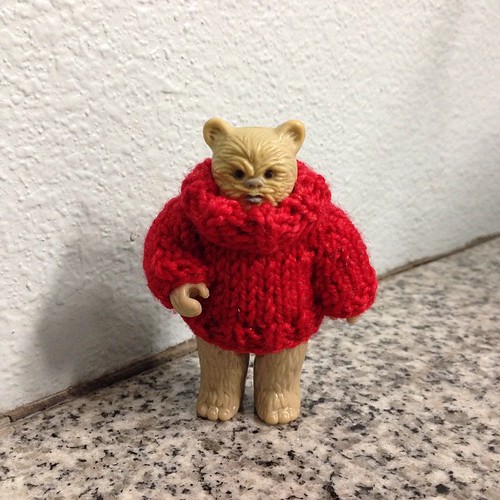
Ewok sweaters:

US 2 needles
Sock yarn
4 stitch markers
Closures (snaps, Velcro, etc.)
Darning needle
Ewoks

In a mix bag of Star Wars Ewoks that was purchased from a flea market I noticed there were 3 varieties.  The sweaters are generally the same for all three, but changes may be needed depending on the neck, body or arm length. 

Ewok 1 (1985 Lumat)-

CO 16

K1 x P1 rib for 6 rows
                Work stitches as they appear on the wrong sides.

Work the 6th row of rib- Raglan set up K3, pm, K3 pm, K4, pm, K3, pm, K3

Start increases by knitting 1 stitch before maker, KFB, sl m, KFB, repeat to the end. (24 sts)

Purl to end.

Repeat Raglan increases.  (32 sts)

Purl to end.

Repeat Raglan increases. (40 sts)

Purl to end.

Knit to first marker.  Remove marker and place stitches between the markers on scrap yarn.  These are the sleeves.  Knit to the next marker and repeat.

Starting on the wrong side St. st. for 3 rows.

K1 x P1 rib for 2 rows.

BO in rib pattern.

Sleeves-

Place stitches back on the needles. Pick up 1 stitch on each side of the ends. 

St. st. for 3 rows. 

*K2tog, K2* to the last stitch, K1. 

K1 x P2 rib pattern.

BO in rib.

Repeat for the second sleeve.  Seam up and stitch up any holes under the arm.  Weave in ends and sew on closure.  To keep the roll neck collar down, I tacked it on the purl rows when weaving in ends.

Ewok 2 (1983 Ewok Medicine Man and 1984 Teebo)-

CO 18

K1 x P1 rib for 4 rows.
                Work stitches as they appear on the wrong sides.

Work the 4th row of rib- Raglan set up K3, pm, K3 pm, K6, pm, K3, pm, K3

Start increases by knitting 1 stitch before maker, KFB, sl m, KFB, repeat to the end. (26 sts)

Purl to end.

Repeat Raglan increases.  (34 sts)

Purl to end.

Repeat Raglan increases. (42 sts)

Purl to end.

Knit to first marker.  Remove marker and place stitches between the markers on scrap yarn.  These are the sleeves.  Knit to the next marker and repeat.

Starting on the wrong side St. st. for 4 rows.

K5, KFB, knit to the last 6, KFB, K5.

K1 x P1 rib for 2 rows.

BO in rib pattern.

Sleeves-

Place stitches back on the needles. Pick up 1 stitch on each side of the ends. 

St. st. for 3 rows. 

*K2tog, K2* to the last stitch, K1. 

K1 x P1 rib pattern.

BO in rib.

Repeat for the second sleeve.  Seam up and stitch up any holes under the arm.  Weave in ends and sew on closure.  To keep the roll neck collar down, I tacked it on the purl rows when weaving in ends.


Coming soon sweater to fit Ewok 3 (1983 Chief Chirpa).

Copyright by Natalie Scrimshire, 2015.
Please do not sell pattern or product made from it.
Blythe hair cutting tips

Typically, I cut my Blythe's hair on a whim without planning.  So far, no one is bald.


This time with my new Factory Heather Sky-like Blythe, I put some planning into the hair cut.  Due to the thickness of her hair and it being from a different type of material than Takara released Blythes, I had to cut more like an actually hair dresser.  Here are a few tips and methods I used:

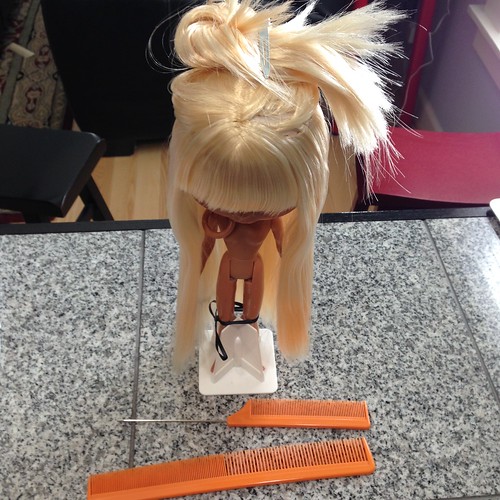
1.  Tape the doll stand to the work surface and secure Blythe to the stand.


I'm using an ADG stand and I tied ribbon around her legs to keep her stationary. Do not forgot to secure the pull chord so it does not get cut also.  I wrapped her's around her neck. 

 Here are the types of combs I used and how I proportioned her hair out to cut in layers.

2.  As shown above I used the comb with the metal pic to split the hair around to make it thinner to cut.  I went along the full line rooting of the scalp.  For some reason I did not take of a photo...   The first layer is the hardest.   

The other comb was needed to for the larger teeth.  I used it to comb out the hair in between cuts.

Start by cutting the hair longer than you intended.  If the hair is wet, it could shrink up significantly.   You can always trim off a little more and you will trim more in the finishing.  I also quickly learned that I cut at an angle even holding the hair in between my fingers as a guide.*  

After the first layer, I realized that this hair texture needed to be damp for cutting.  On stock Takara, I typically cut dry.  I dipped the comb into the water rather than wetting the entire hair.  This helped by making the hair just heavy enough to stay in place while I was cutting.

3.  Once finishing with the first layer, split up another section of hair.  This layer is much easier to cut since you go by the bottom layer!  

Repeat dropping more and more hair until you are finished trimming it all.  

After doing this, clean up strands that you missed and level it out.  Get down eye level with the front side of the hair combed at the same points of the face.

You can see that the hair is slightly damp.


After trimming bangs and length

There are other tutorials out there for bang cutting.  I just trimmed these to even them out a bit.  My main warning/suggestion is to be careful not to let the scissors scrap Blythe's forehead.  I cut little bits at a time.

Scissors- I used my sewing ones...probably not a very good thing for the sewing scissors.

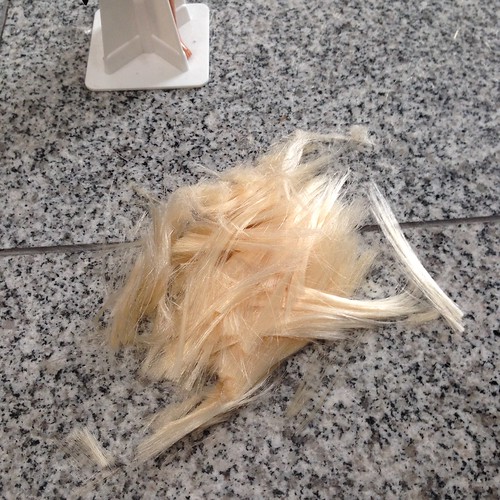
The hair pile.


*I nearly cut my finger.  Please be careful.

As always, if you choose to use my suggestions you take full responsibility for damage to your doll or yourself.  I am by no means professional.  I just prefer to do things myself. 


Tuesday, January 6, 2015

Gidget

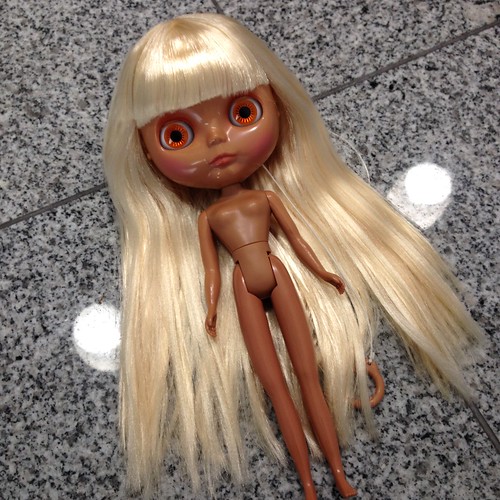
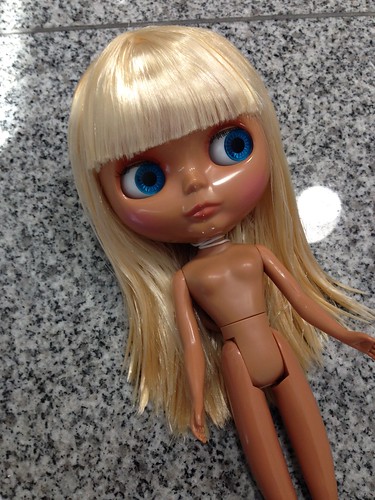
I did indeed purchase the factory/TBL Heather Sky-like Blythe.  I feel she is a factory rather than TBL- a much better quality doll.  I named her Gidget.

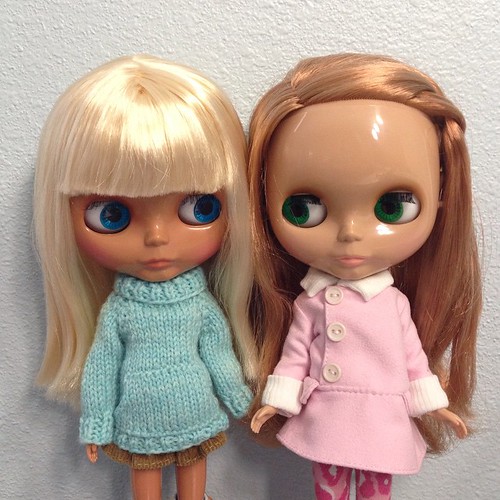
Before any alterations, photographed with Sunshine Holiday for tan comparison.


A few thought about Gidget-

Face and body match
3 click knees
different textured hair
larger eye chips (again)
Poor quality eyelashes

At times with ordering TBL or factory dolls, faces and bodies do not match.  This was the case with the translucent TBL doll; however, Gidget matches perfectly!  The knees click properly.  I can see clear details in her hands.  The nail bed is defined so well I'm considering painting her nails with acrylic paint.  Also, her ears are pierced!

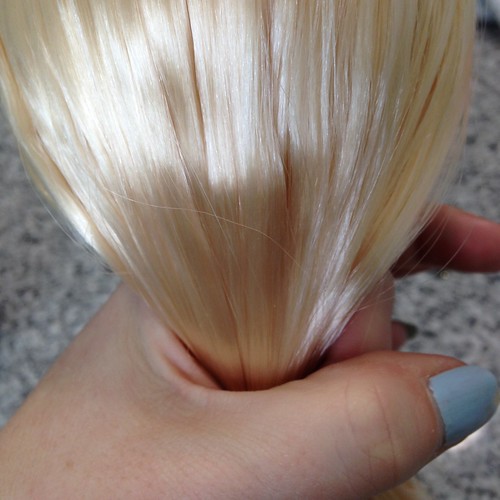
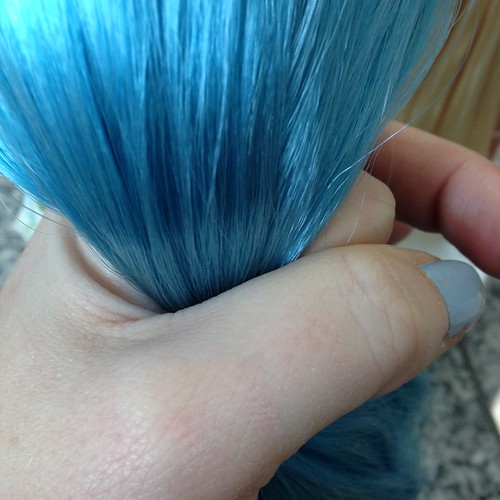
The hair is unusual.  It is hard to capture in photos the different textures between her and a Takara released Blythe.  The individual strands are thin and light.  The scalp has been rooted with 4 times the amount of hair than normally.  Whatever the material that makes up the hair, it nearly binds together and is dense. It has a lot of memory also.  Fortunately to straighten the hair back out, combing is all that is necessary.*

Texture comparison with Mandy Cotton Candy.  Can you see the difference?


I don't think I accurately captured the thickness between the two girls' hair.


The length of Gidget's hair was pretty unmanageable.  It went to her feet and with its density it looked a bit of a mess.  I trimmed up to her rump.  It wasn't overly easy.  Instead of squeezing the details into this post, I'm going to write up a hair cutting suggestion post.

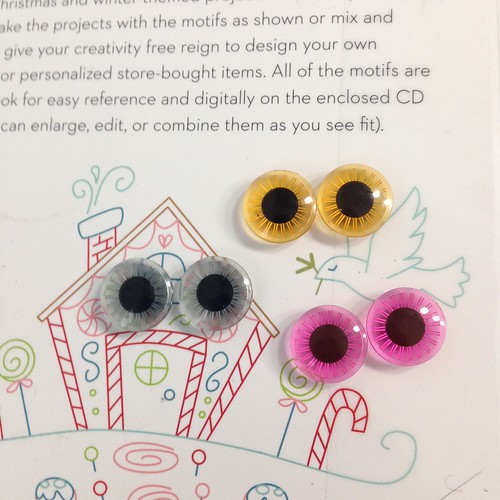
Strangely, I find the eye chips to be completely different from a stock Blythe and different from the translucent TBL. They are low quality and really degrade the appearance of the doll (or, at least the pink do).  I replaced the eyes to stock Blythe eye chips except for the green.  They were decent; although, not the same quality as the stock chips.  This time I had to sand the eye chips around to get them to fit.  Last TBL all eye chips (Brain Worm, Cool Cat, and Stock) were too small. The factory chips fit nicely in a stock Blythe.

Eye chips removed


The eye lashes were ghastly.  I pulled them out without much trouble.  I did notice while replacing with new that the eye lids are loose.  This made it difficult to get the lashes in place.


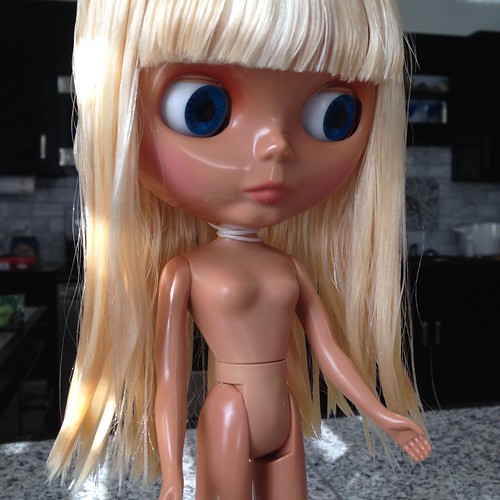
After alterations

I know she isn't Heather Sky, but she fulfills my desire to have another tan girl at the moment.  Overall, I feel she was a good value.  I am glad that I chose the blonde girl; she fits really well with my current collection.  

*I have not boil permed or placed rollers in her hair.  The hair will form a curl with braiding and twisting back parts in a clip.  I have not done any other experimentation.