Showing posts with label Blybe. Show all posts

Monday, February 11, 2013

How to make Sleepy Eyes for Blythe

Just a little quick how to bit for Sleepy Eyes.  This morning a friend on Ravelry asked some questions about how to make sleepy Eyes for Blythe or Icy.  As far as I know this is the same for all face molds:  BL, EBL, SBL, RBL, FBL; as well as, Icy dolls and clones.

First, what are sleepy eyes? Sleepy eyes is when the doll has 2 pull cords: one for opening the eyes and one for closing and changing the eyes.  **I did recently read that if you leave your doll asleep too long it can warp the eye mech.**  Nothing extra has to be purchased or anything.

This is the method that requires your doll's head to be open.  There are other tutorials out there that does not require opening.

Photo 1-
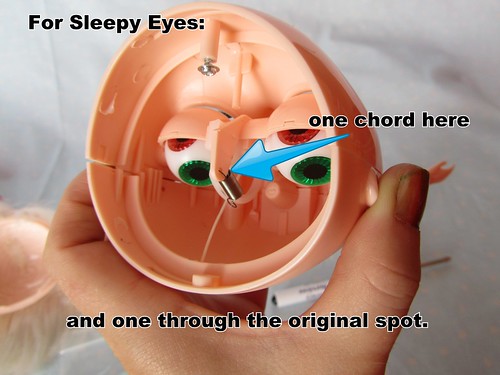
Pay attention where the pull cord is located once you open your doll's head.  That is where one of the cord will need to go again.  The second one goes in place of the spring.  I, personally, remove the spring.

Photo 2-
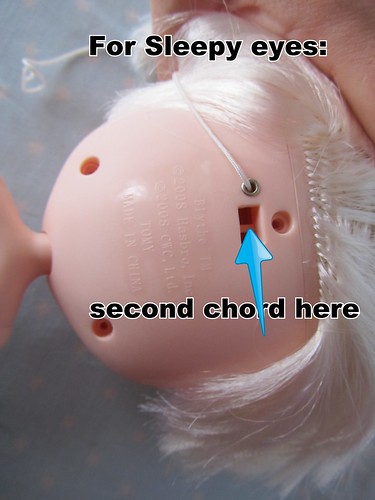
Once the new cords are attached on the inside, one cord comes out of the original hole and one comes out where the spring used to hang.  

I think some people have both chords come out the original hole.  This is your preference. 

I use 1/8th inch ribbon as my pull cords.  I have never had one break.  A tip to get it through the eye mech hole- Cut the ribbon at a sharp angle and then melt it, at an angle, with a cigarette lighter.  Then used a pin to poke it on through the hole.  Doing this also helps when thread beads onto the ribbon.

Also, be sure to use long ribbon and trim it later!

** I assume no responsibility in the outcome of this tutorial.  If you use this as a guide, you do it at your own risk, or your dolls risk.** 


Wednesday, January 4, 2012

Sally the Rag Doll


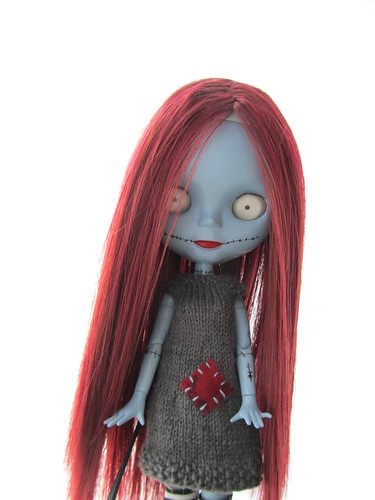
Sally is near completion! 

This photo is much better than the previous ones!
I am more used to photographing at noon than before 8 am.

I still need to finish drawing on her stitches.  

I also have to correct one set of eye chips.  I made a careless mistake and placed a side glance set in the other straight gaze.  It may be stuck in the sockets.  They chips were such a tight fit no glue was needed.

If I cannot get the chips out, I have a black set of Brain Worm chips coming that I will use instead. 

The hardest part will be finding good charms for Sally's pull cords.  This part I thought would be easy! 

I have checked a few stores that typically carry Nightmare before Christmas merchandise, but apparently I missed the boat.  I could have purchases tons of items about 2 years ago!  It is frustrating when this happens.

I plan to order Sally some additional hands.  

Fun!

Tuesday, January 3, 2012

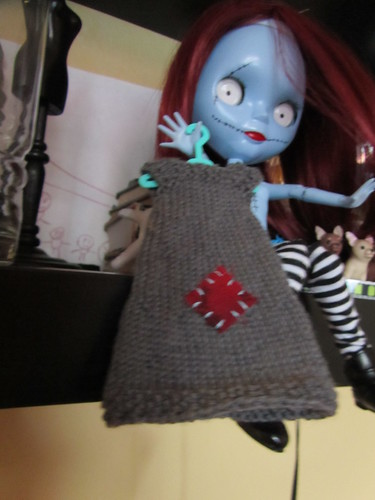
Sally's Patched Dress

Shoot! My photo is out of focus! 

This is Sally's first dress.

Eek, I am starkers!

I touched up areas on Sally using a Q-Tip.  It went well!  The ink is still drying on her stitches in this photo.

I am hoping to have her completely stitched up soon.  

Sally has been a slow project with painting and drawing. 

Sunday, December 18, 2011

Sally has stitches

Sally is starting to look like a rag doll.  This weekend I have had many opportunities to work on her.

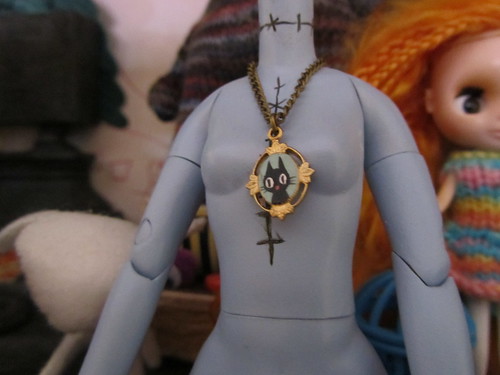
Mab Graves necklace


She has received her final paint and I am beginning to draw on her stitches.  The good news is that they are drying and not smearing.

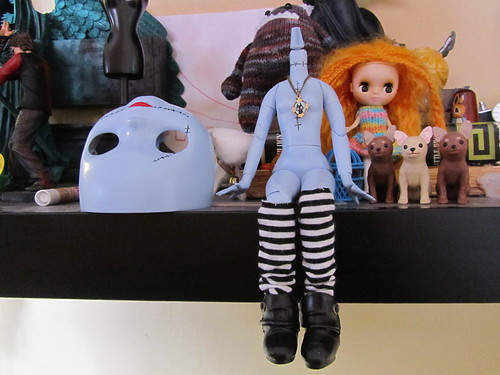
Face plate, socks, necklace and boots

Boots are Ruby Red Gallery.

Socks are made by me.


The body stitches are "organic" looking- a nice way of saying very sloppy.  But, overall I think that is okay.  I am not bothered by them.

Her wardrobe is growing little by little. Now she has socks to go with her boots and necklace.

The face plate is finished also!


Tuesday, December 13, 2011

Progress Report on Sally

Things have improved since my last update on my Sally the Rag Doll.

I scrubbed and cleaned off the majority of the Valspar paint and have successfully repainted her with Krylon Indoor/Outdoor.


My poor Sally is looking like the Black Dahlia in this photo.

I tried painting her lips last night and decided to give the face plate and body a fine sanding before attempting again.  I really don't like the glossy paint, but had no other option!

A friend of mine, who is a paper maker, is looking into some nice thick handmade artist paper.  All of my paper from my art student days have too much tooth.  I am needing nice smooth, stark white paper for the custom eyes.

I am really happy to see this project starting to come together.  Once my nylon hair came in I started preparing for the knot method of rooting all I was waiting on was the scalp.  Last night I determined it was dry enough so I started on the hair part with the strands.  Now I am sewing wefting on the bulk of the head. I nearly have been late to work twice because of the hair!

Coming soon are photos of my completed Nicki Manaj custom. Or, re-custom! One of my black Blythes now has a Nicki Manaj face up with a perfect pink wig!


Tuesday, December 6, 2011

What do you dress a Burtonesque doll in?

So what do you dress a Burton-esque doll in?  I am trying to create a wardrobe for my Sally the Rag Doll Blythe custom.

Sally is going to have a kitty necklace made by Mab Graves.

I am so obsessed with Mab Graves right now.

What else would you dress a blue gal in?  

This is the current state of Sally.


Sunday, November 13, 2011

Basaak vs Blybe comparision

For my new project, Sally the Ragdoll, I order something called a CCE doll.  Which, I call a Blybe. I maybe compleletly incorrect, but I am just going off of the information I got with previous doll. 

So, for the sake of this comparison, I call this little lady a Blybe.

I just happen to have a new Basaak too.  I found one one Blythe Kingdom for a good price and I bought her with the thoughts that it would be awhile before my Blybe comes in the the mail.  She was my back up plan. 

Turns out I did not need a back up plan! The Blybe and Basaak came on the same day!

This was the first time I could do a side by side comparison. So here goes:

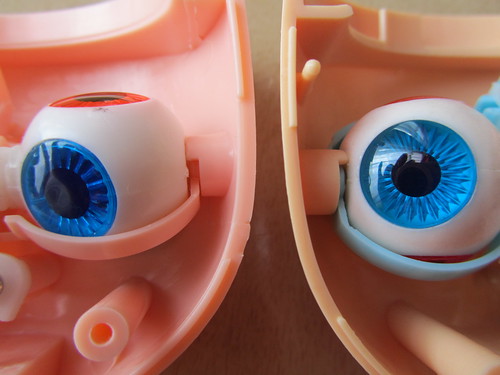
Eye chips, Basaak left, Blybe Right:

Eye chip clarity goes to Blybe.  

The Basaak eye chips remind me of ADGs.  They are very difficult to remove.


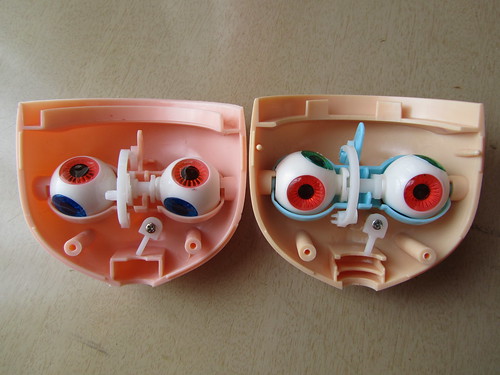
Left Basaak, Right Blybe: 

The eye mech of the Basaak is slightly smaller than the Blybe.  

Left Basaak, Right Blybe 

For this photo, I could not get the eye mech out of the Basaak head.  I need a second person and my husband is not home. 

The noses are different shapes as are the lips.

The eye holes may have slightly different shapes too, it's hard to tell with the mech still in the Basaak.


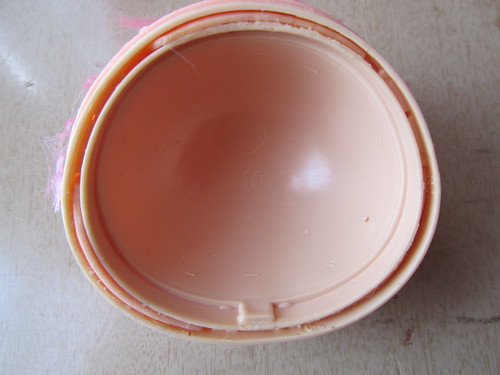
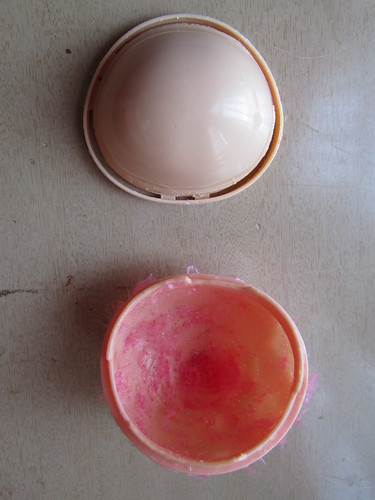
This is the Blybe scalp system.  Between the two, it was significantly harder to separate the pieces.

There is a dome and the scalp fits inside it.  That is what this pic is showing.

The two pieces to the Blybe scalp system.


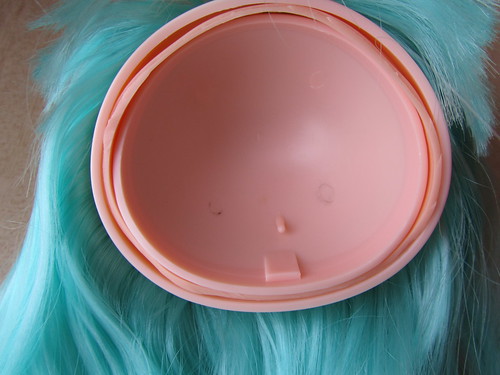
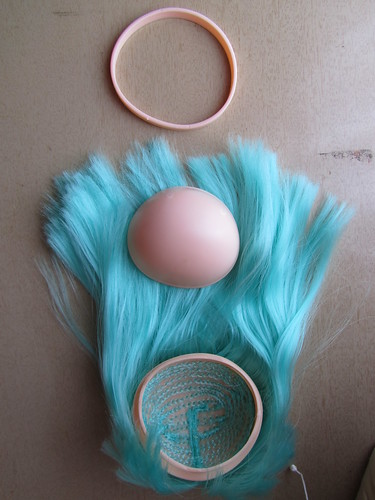
This is the Basaak scalp system.  It is easy to remove, the trick is getting it to stay together. 

It is three pieces- dome, ring, and scalp.  This photo is showing it assembled.  

The three piece to the Basaak scalp system.

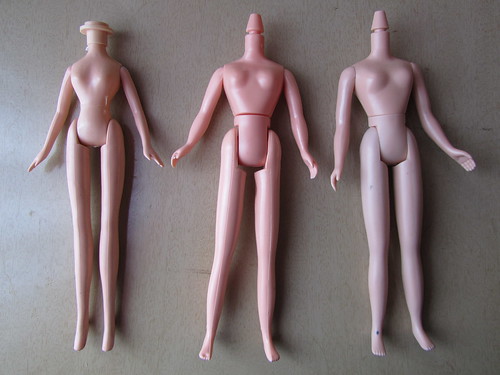
Body comparison:

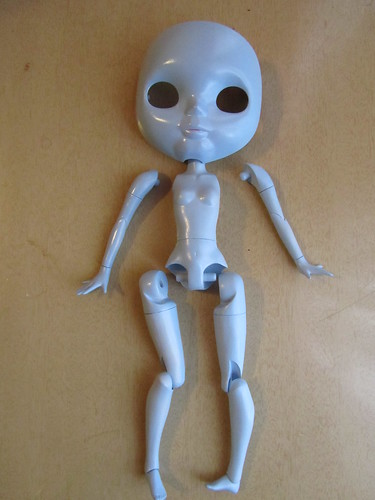
Left- Blybe, Middle- Basaak, Right- Takara 

The Blybe is smaller than the other two with a fixed waist and slanted feet like Barbie.  The other two are very similar except the Basaak quality is poor.


What fate does the Basaak face? 

I plan to fix her up for my daughter.  R has Pinkie and Margo already, but I don't really need another doll for myself.  I thought about practicing some carving on her and maybe bobbing her hair.  Decisions, decisions....

Coming up tomorrow is my Petite Blythe experiment.

Monday, January 31, 2011

Angelina and the Crocus flowers

In my neighborhood some crocus flowers popped up! I had to get a pic or two of Angelina.


Sunday, January 23, 2011

Angelina


The only scratch is around the neck.  The other spots are dust.


I know I said that I was giving Angelina's body 2 weeks to dry, BUT I just could not wait.  I see a little chipping around the neck that I hope to fix later.

She is looking like a complete girl with her hair and new paint job.  I am pretty happy with the outcome.  Once she dries more, I intend to work on styling her long locks some more.  Right now it is back in a clip to tame it.


Sorry for the weird angle shot.  She is still drying from her new spray tan!


The head for my second Black Beauty did not come in yesterday.  I just hope it comes soon since Angelina is practically finished.

Saturday, January 22, 2011

Paint Day


I gave up the trial and error process of repainting Angelina. I am now using SEM automotive paint.  The jury is still out on my success.  I am painting in "freckles" and giving 30 minutes between each layer.  I don't know how I am going to wait for 2 weeks (on suggestion) for her to dry!  I am ready to put hair on her!


Something I found while at the Sherwin Williams Automotive Paint shop was gold spray paint! So cool, I think it works like the SEM.  I didn't really check, but it gives me an idea.  Goldfinger!!

As I have mentioned before, I am putting real human hair on my custom dolls I can style them with heat.  I bought a 1/2 inch Mini Cortex Straightening Iron for this purpose.  It works lovely!

Sigh...I am still waiting on my dolly bank head.  I am getting so anxious.  Everyday I think it is THE DAY.  Boo...

Monday, November 1, 2010

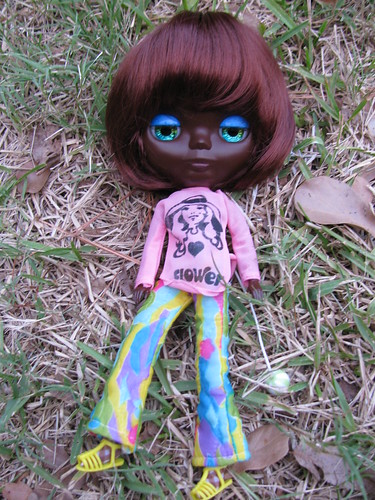
Meet Angelina


Meet Angelina! She is a customized Blybe (clone) doll. Funny Bunny, www.funnybunny.se, has a beautiful customized doll named Chocolate Pudding that inspired Angelina.

Angelina's customizations include:

Body transplant; World of Love Soul is the donor
Spray color
Sleepy eyes
Eye shadow
Apple green eye chips
Green and blue eye chips
New eyelashes
Light lip color
Wig


Unfortunately, the color of the body and paint did not match. Now she wears brown tights with every garment.  In the photos she is dressed in vintage World of Love clothing.

Before shot:


Photo by Ebay seller rich_amphai